Published Thursday, January 29, 2026
By Natalie Tucker
Custom packaging doesn’t need to be complicated — and you don’t need to be a designer to create something that looks
professional and on-brand.
DIYpack’s online Design Studio gives you the tools to design custom packaging in minutes, whether you’re starting
from scratch or uploading your own artwork. From logos and colors to 3D previews and final proofs, everything happens
in one place.
Here’s a step-by-step guide to using the Design Studio to bring your packaging ideas to life.
What Is the DIYpack Design Studio?
The DIYpack Design Studio is an online tool that lets you
customize your packaging directly on our website.
You can:
- Choose your box style and size
- Upload logos, artwork, or images
- Add text, patterns, and colors
- Preview your box in 3D before ordering
- Place your order with confidence
It’s built for anyone that wants control over their packaging — without design software or long setup times.
Step 1: Choose Your Box Style and Size
Start by selecting the box style that best fits your product, such
as:
- Mailer boxes
- Shipping boxes
- Retail boxes
- Literature mailers
Next, enter your inside dimensions to create a box that fits your product perfectly. Right-sizing
your packaging helps reduce shipping costs and improves protection.
Once you’ve selected your size, choose which sides you want to print on, your finish, and quantity to see pricing
update automatically so you always know what to expect.
Step 2: Select Your Material and Print Options
Choose where your design prints:
- Outside only
- Inside only
- Both inside and outside
Choose the corrugated material that matches your brand and use case:
- Kraft (natural brown)
- White (uncoated matte)
- Premium White (glossy, high-end finish)
Select your Quantity
- DIYpack has no minimum
- You can change the quantity before you order
The Design Studio adjusts your canvas automatically based on these selections.
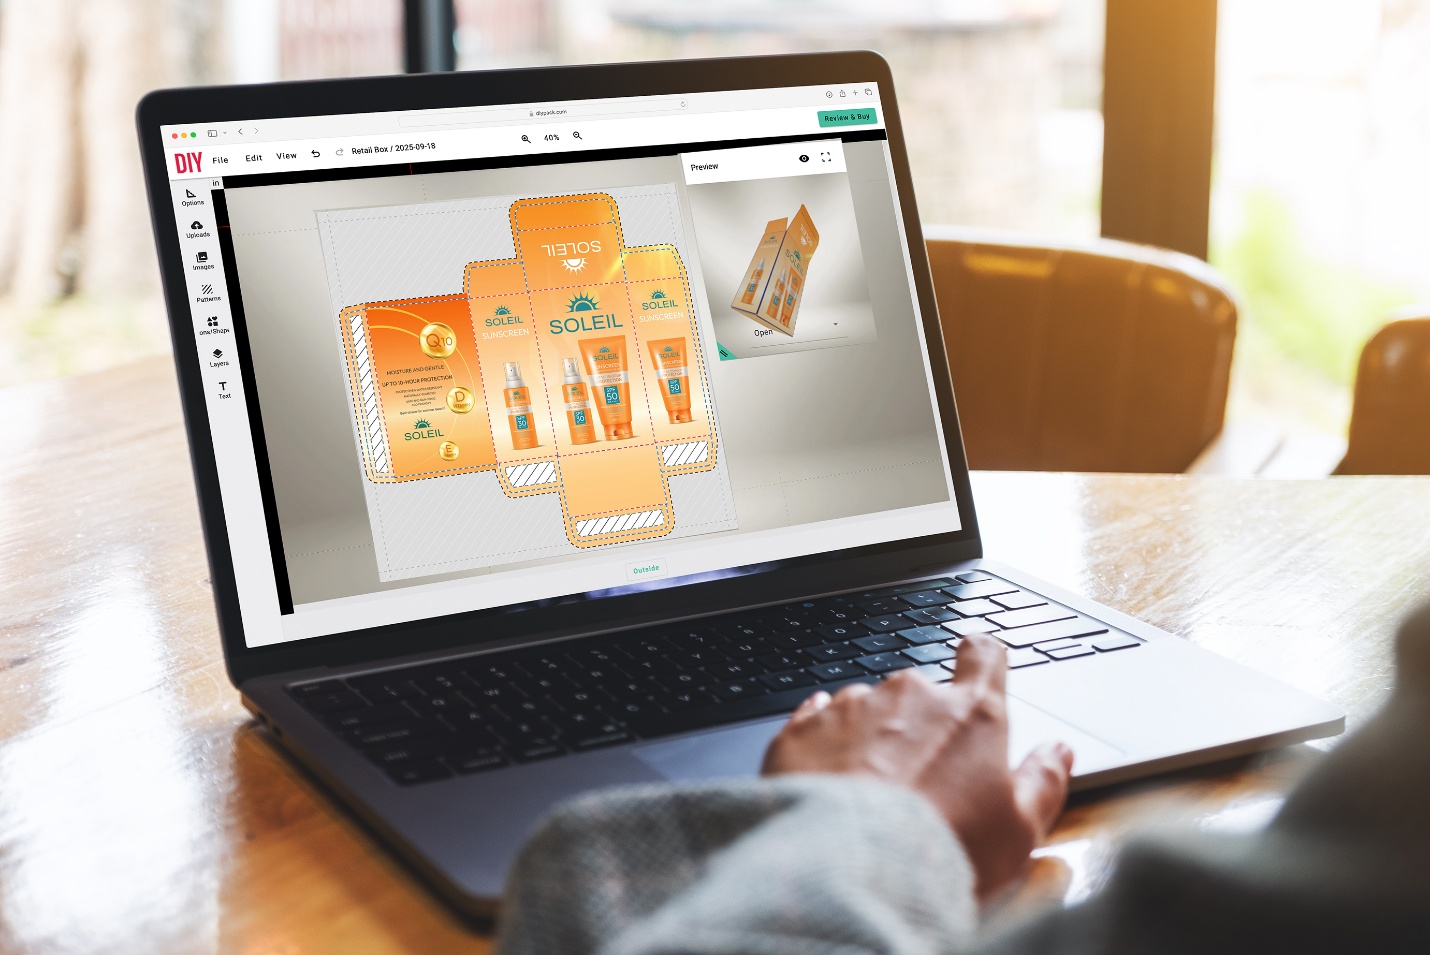
Step 3: Start Designing in the Design Studio
Now the fun part.
Inside the Design Studio, you can:
You’ll be designing directly on the box dieline, so you can see exactly where your graphics will appear.
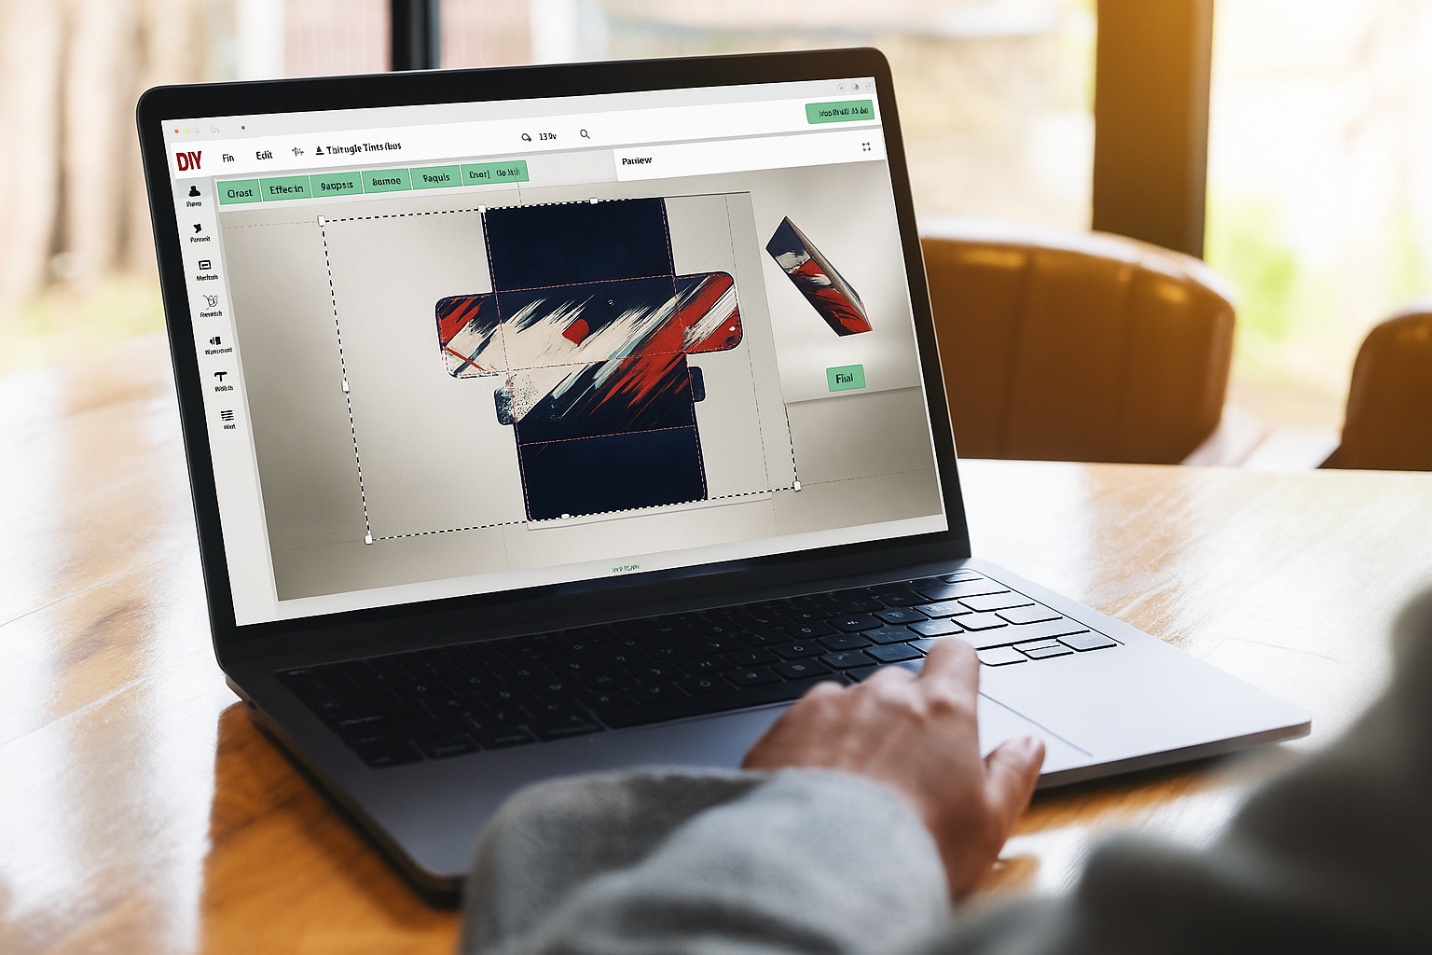
Step 4: Use the 3D Preview to Check Your Design
One of the most powerful features of the Design Studio is the 3D preview.
With one click, you can rotate and view your box as it will appear when assembled. This helps you:
- Catch alignment issues
- Check logo placement
- See how panels flow together
- Visualize the full unboxing experience
This step alone helps prevent common design mistakes before you order.
Step 5: Review Print Guidelines Before Ordering
Before submitting your design, take a moment to review key
print best practices:
- Keep important text at least ¼” away from folds and edges
- Use high-resolution images for best print quality
- Make sure text is large enough to remain legible
- Design with a little flexibility in mind—small shifts are normal when digitally printing on corrugated board
- Place color transitions, patterns, or background graphics in areas where minor movement won’t be noticeable
The Design Studio makes it easy to spot potential issues, but this final review helps ensure the best results. If
you are uploading your own design, remember to remove any extra dielines or guides from the uploaded artwork to
avoid those getting printed on your design.
Step 6: Order a Sample (Optional, but Recommended)
If you’re ordering custom packaging for the first time — or trying a new design — we recommend ordering a printed sample.
A sample lets you:
- See colors and print quality in person
- Test product fit
- Experience the unboxing before committing to a larger run
When you move forward with a larger order, the cost of your sample can be credited back (100+ units).
Step 7: Place Your Order with Confidence
Once you’re happy with your design, simply add it to your cart and checkout. Your design will be sent directly to
production, and your custom packaging will ship in 5–7 business days. DIYpack offers multiple
shipping options to help expedite your packaging if needed.
No plates. No tooling. No minimums.
Tips for Getting the Best Results in the Design
Studio
- Keep designs simple and intentional
- Use brand colors consistently
- Take advantage of inside printing for extra impact
- Preview your design in 3D before ordering
- Start with a sample if you’re unsure
The more intentional your design, the stronger your packaging will feel when it arrives.
Why Brands Love Designing with DIYpack
DIYpack’s Design Studio is built to make custom packaging
accessible at any scale.
With DIYpack, you get:
- Easy online design tools
- No minimum order quantities
- Fast turnaround times
- High-quality digital printing
- Sustainable corrugated materials
- Full control from design to delivery
Whether you’re launching your first product or scaling your brand, the Design Studio helps you create packaging
that looks professional and feels intentional.
About the Author